

Behind the Print: An In-Depth Guide to the Linocut Process
In an age of digital creation, there is a timeless magic in art made by hand. The linocut art process stands as a testament to this, a medium that is both tactile and deeply rewarding. It's a creative voyage, as Mark James Murphy calls it, that transforms a humble block of linoleum into a striking work of art. This comprehensive guide will take you on a journey through the intricate steps and rich history of linocut, providing a detailed look into the techniques, materials, and artistic philosophies that define this unique form of relief printing. Whether you are a complete novice or a seasoned artist, this exploration will deepen your appreciation for the craft and equip you with the knowledge to begin your own linocut printing process.
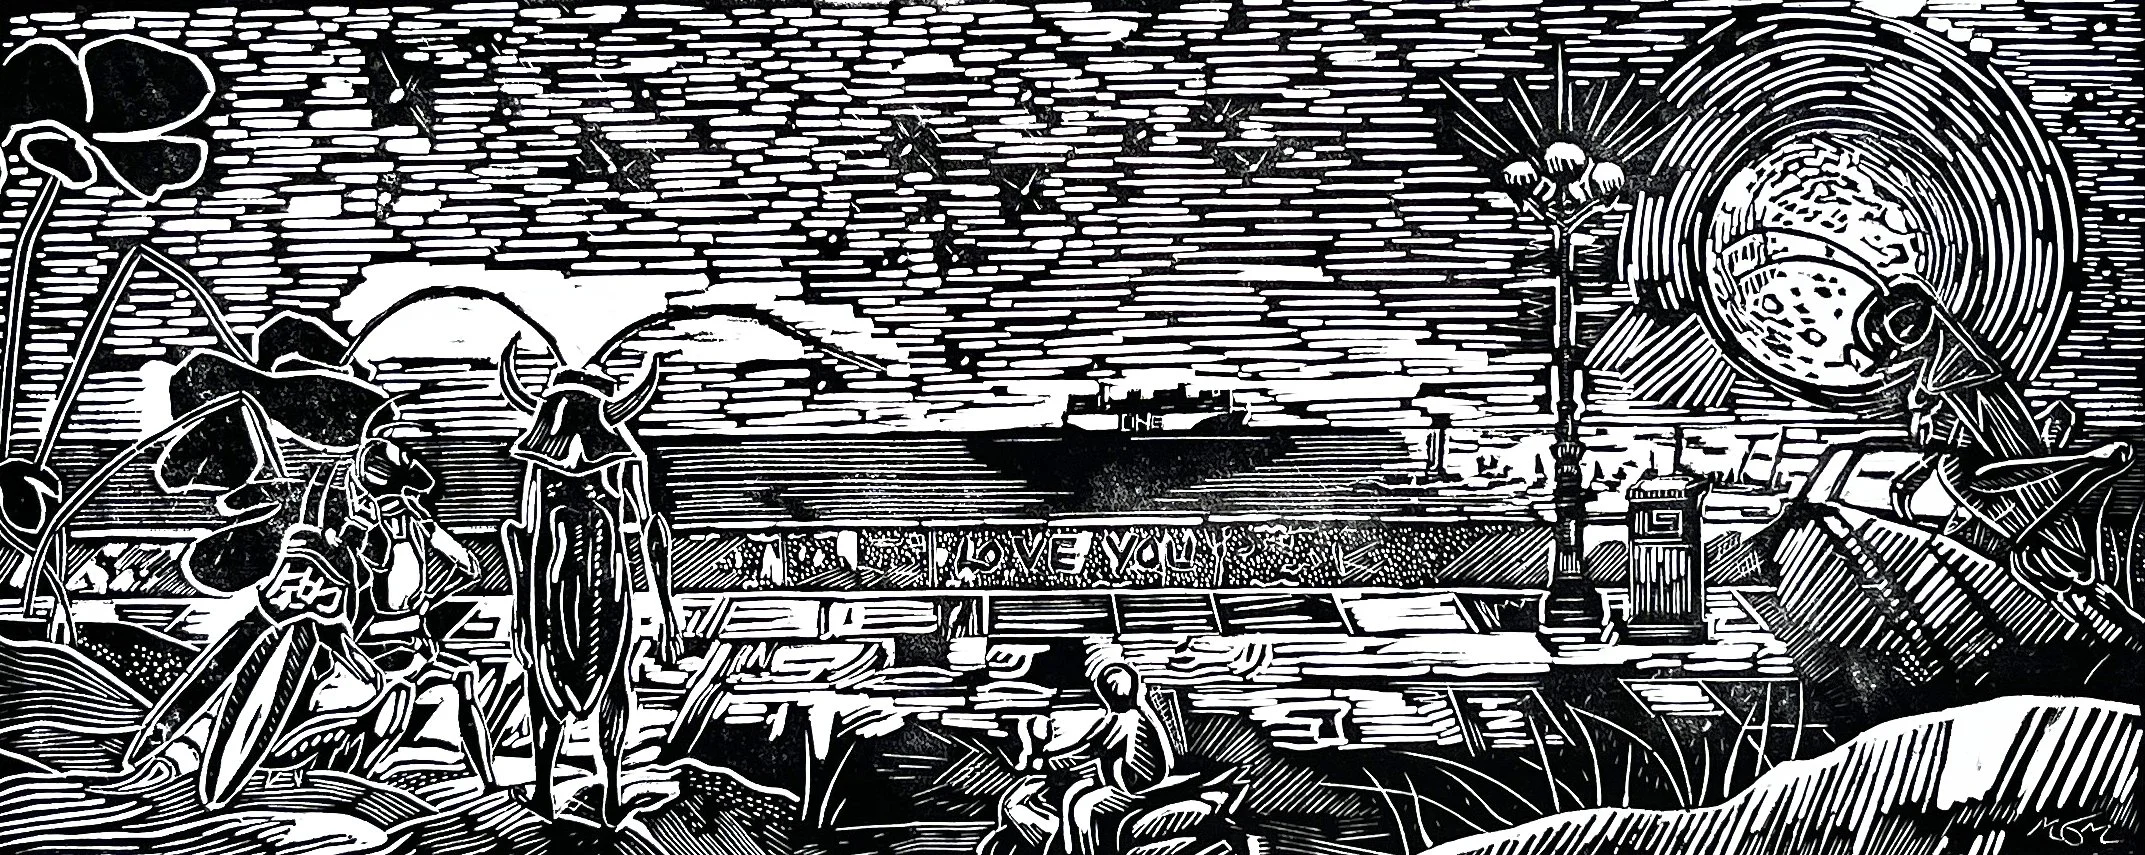
With one of my black and white limited edition linocut prints
The Foundation: A Brief History of Linocut
To truly understand the linocut process, it's important to know its origins. Unlike older printmaking techniques like woodcut, which date back centuries, linocut is a relatively modern medium. It emerged in the early 20th century, growing out of the need for an inexpensive and easier-to-carve alternative to wood. Linoleum itself was invented around 1860 by Frederick Walton as a durable floor covering. Its smooth, grainless surface was a revelation for artists, allowing for flowing lines and intricate detail that was often difficult to achieve with the natural grain of wood.
Initially, linocut was often dismissed as a craft medium or a tool for school projects due to its affordability and ease of use. However, its potential was soon realized by some of the 20th century's most influential artists. The German Expressionists, drawn to its ability to produce stark, high-contrast images, were among the first to embrace it as a serious artistic medium. Later, the British artists of the Grosvenor School, led by Claude Flight, popularized its use for dynamic, multi-color prints influenced by Cubism and Futurism.
Tools accompanying The Art and Craft of Linocutting and Printing by Claude Flight
But it was Pablo Picasso in the late 1950s who truly elevated the form. He was one of the first artists to use the reduction linocut technique and explore it’s possibilities. Although it must be noted, Picasso did not invent the technique, as is often believed to be the case. The reductive linocut method is a complex and irreversible process where a single block is used to create a multi-color print. By carving away more of the block and printing successive layers of color from lightest to darkest, Picasso pushed the boundaries of what was possible with linocut, solidifying its place in the world of fine art. You can learn more about reduction linocut here.
Step-by-Step: Deconstructing the Linocut Printing Process
The beauty of the linocut process step by step lies in its methodical nature. It is a slow and deliberate practice that demands patience and focus. Here is a detailed breakdown of each stage, providing insights into the materials and techniques that yield a high-quality print.
Step 1: Conceptualization and Design
The first and arguably most critical stage is the design. A successful linocut starts with a strong, well-conceived idea. Artists must think in terms of positive and negative space. The areas that remain raised will be the color of the ink, while the carved-out areas will be the color of the paper. This binary approach to design lends itself to bold, graphic images and powerful contrasts.
My George Best pencil drawing on linoleum
Many artists, including myself, draw their design directly onto the linoleum block with a pencil. It's crucial to remember that the final print will be a mirror image of your design on the block. For text or recognizable objects, a tracing paper and carbon paper transfer is often used to ensure the image is reversed. For a more fluid, personal approach, some artists draw freehand. The final design should be simple enough for a beginner to tackle but complex enough to be engaging.
Step 2: Selecting and Preparing Your Materials
Choosing the right materials is essential for a smooth linocut printing process.
·
Linoleum Blocks: Traditional battleship gray linoleum is a popular choice for its durability and firm surface, but it can be hard to carve. One tip is to soften the lino by heating it against a radiator for several minutes. ‘Soft-cut’ rubber blocks are a great option for beginners due to their pliability. I actually find them more difficult to use, because one doesn’t necessarily have the same carving freedom. I am a definite advocate for using traditional hessian backed lino or marmoleum, which is available here. Given time you can learn to feel more at ease with these materials. The results are certainly better!
·
·
Carving Tools: A basic linocut tool set will include a handle and a variety of interchangeable V-gouges and U-gouges. V-shaped gouges create fine, crisp lines, perfect for detail work. U-shaped gouges are used to remove larger areas of negative space. Check out these great starter kits.
·
·
Inks: Inks for relief printing are thicker and more viscous than other types of ink. Water-based inks are easy to clean up with soap and water and dry quickly, making them ideal for beginners. Oil-based inks are known for their richer colors, durability, and longer drying time.
·
·
Paper: The choice of paper significantly affects the final print. Japanese rice paper, for example, is thin and strong, perfect for hand-burnishing. Heavier printmaking papers can also be used, especially with a printing press.
·
·

My wooden baren given to me as a gift by the good people of Ritualis Press
Brayer/Roller: A rubber brayer is used to apply ink evenly to the carved block. A good brayer should be firm enough to spread ink without getting into the carved-out areas.
·
·
Burnishing Tools: For printing by hand, a wooden spoon, a baren, or even the back of your hand can be used to apply pressure to transfer the ink.
Take a look at Linocutting - The tools and materials I use to learn more on this topic.
·
Step 3: The Art of Carving
The carving stage is where the magic truly begins. This part of the linocut art process is meditative and precise. The artist must secure the block to a stable surface to prevent it from slipping. Safety is paramount—always carve away from your body and keep your fingers well behind the cutting tool.
Carving a linocut design in my home studio
Starting with the finest V-gouge, the artist carves the outlines of the design. This creates a boundary for the subsequent, larger cuts. Once the outlines are established, the U-gouges are used to clear away the negative space. The depth of the cut is important; it should be deep enough so that the ink roller does not pick up ink from the bottom of the carved-out area. For a novice, aiming for 1-2mm deep cuts is a good starting point.
The linocut carving process is underway
Step 4: Inking the Block
Once the carving is complete and the block is free of debris, it is ready for inking. A small amount of ink is squeezed onto a glass or acrylic slab. Using the brayer, the artist rolls the ink out until it forms a thin, velvety layer. The key is to get an even, smooth consistency.
The artist then rolls the brayer over the raised surface of the carved block. This must be done with an even, consistent pressure to ensure every part of the design is coated in a thin, uniform layer of ink. Too much ink can fill in delicate lines and details, while too little will result in a patchy print. I usually apply two coats of ink to my artwork.
My inked linocut block showing a Buddhist pagoda in Vietnam
Step 5: The Hand-Burnishing Method
Speaking on my own behalf, the labor-intensive hand-burnishing technique is an essential part of the linocut process. A sheet of paper is carefully placed over the inked block. Then, using a wooden spoon, a baren, or a similar tool, the artist applies firm, even pressure by rubbing the back of the paper. This pressure transfers the ink from the block to the paper.
The act of hand-burnishing allows the artist to feel the impression being made, giving them a sense of control and connection to the work. It can be a long and repetitive process, but it is this physicality that creates the unique textures and subtle imperfections that give a handmade print its charm and character.
Step 6: The Reveal and Finishing Touches
After the paper has been thoroughly burnished, it is slowly and carefully peeled back from a corner to reveal the print. This is often the most exciting moment of the entire process. The print is then set aside to dry. Water-based inks dry relatively quickly, while oil-based inks may take several days.
Clean-up is an important final step. All tools, brayers, and slabs must be cleaned immediately to prevent ink from drying and damaging the equipment.
The moment of truth - revealing a linocut print!
The Artist's Connection: Mark James Murphy's Approach
Mark James Murphy’s work exemplifies the beauty of the process of linocut. His bio reveals a deeply personal connection to the craft. A self-taught artist from North-East England, his practice is a nod to the industrial past of his region. He embraces the physicality and labor-intensive nature of the medium, creating his signature black-and-white images on strong, hessian-backed domestic linoleum.
Murphy's commitment to the hand-burnishing technique with a wooden spoon or baren is a deliberate choice that links his work to a traditional, tactile method. Each print bears the physical marks of this labor, and the faint presence of black ink on his skin serves as a symbol of his dedication. His art is not just about the final image but about the journey to get there—a journey that captures moments from everyday life and transforms them into visual stories.
In an art world increasingly dominated by digital ease, Mark James Murphy's work is a powerful reminder of the value of slowness, precision, and human touch. His story, and the meticulous process behind each of his prints, inspires a new appreciation for the enduring magic of handmade art.
To delve deeper into the art of linocut, why not check out The Ultimate Guide to linocutting.